Pros
- portable
- Easy to set up
- Easy to use.
Cons
- Cannot detect glass and transparent backgrounds well.
- Scan results are highly affected by objects and surrounding factors.
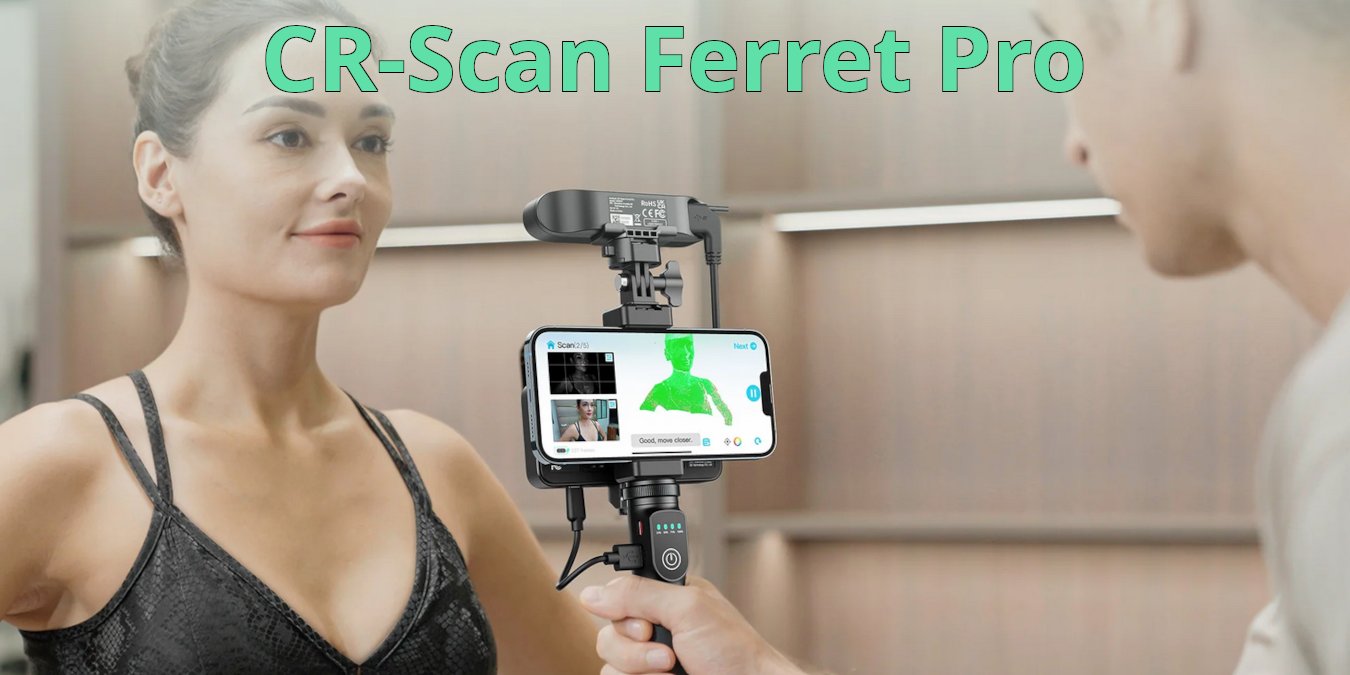
Are you a 3D printing enthusiast? If yes, you will know that one of the difficulties of 3D printing is getting a good 3D model to work with. In this case, The CR-Scan Ferret Pro 3D scanner allows you to easily create 3D models wherever you are. Best of all, you don’t need to be an expert to use it. Let’s check out how it performs and if it is worth your money.
This is a sponsored article and was made possible by Creality. The actual contents and opinions are the sole views of the author, who maintains editorial independence even when a post is sponsored.
Unboxing
Unboxing the scanner, you will find:
- CR-Scan Ferret Pro scanner
- Rechargeable handle
- Wireless bridge
- Mini tripod
- Phone holder
- Multiple cables
- Carrying case

Specifications
| Resolution/Point Distance | 0.16mm |
| Working Distance | 150 – 700mm |
| Frame rate/scanning speed | up to 30fps |
| Scan size | 150mm – 2m |
| Accuracy | 0.1mm |
| Wireless connection | Wi-Fi6 |
| Runtime | 2.5hours |
| Battery capacity | 5000mAH |
| Operating systems | Windows, macOS, Android (iOS) |
| Single capture range | 560*820mm |
| Minimum scanning | 150*150m |
| Machine size | 120*30*26mm |
| Machine weight | 105g |
Features
The Ferret Pro 3D scanner is small enough that you can easily bring it around with you and use it on the move. It comes with anti-shake tracking technology that allows you to do a 3D scan without the need to have steady hands.
Another of its highlights is the utilization of Wi-Fi6 to transfer image data to your phone faster and without lag. It also has a high-quality scan mode with 0.1mm accuracy and a fast scan mode of up to 2m objects.
Getting Started
The CR-scanner works on Windows, macOS, Android and iOS.
To get started, install the software on either your PC or phone. I tried both. Here is what I found on the ease of use:
- The software for PC is easier to use, and there are fewer things to set up. Handheld is optional when using the PC software. All you need is to connect the scanner to the PC’s USB 3 port, and you can start scanning.
- For mobile, the setup is slightly more complicated. You will need to assemble the scanner, the phone mount and the wireless bridge on the handheld. Then, connect a bunch of cables between each device. The handheld is a 5000mAh battery by itself, so it can power all the connections. It is always good to fully charge it before use, as the battery level drops quickly during use. Depending on the weight of your phone, the whole setup can be quite heavy.


Usage
There are a few things that I learned after using the 3D scanner. It is best to follow them before you start.
- Place your object on a turntable and the scanner on a tripod. This will keep the setup stable with a lesser margin of error.
- The lighting is important to produce a good scan. Make sure there is sufficient lighting for your object.
- Be patient. While the 3D scanner is easy to use, it can get distorted or disoriented easily. Often, you have to take several scans to get it right.
- Avoid black or dark objects.
- The phone can get hot after using it for a while. Also, it is quite resource-intensive and doesn’t work well with old phones.
Once you have set up the device and the connection, you have to click the New Scan button to start scanning.

One thing to note is that when the scanner encounters black (or dark) backgrounds, it will get disoriented and prompt you to backtrack (move back to the previous position) to reacquire the orientation. This can often lead to a frustrating experience when the scanner repeatedly cannot get the dark area right.
Once you are done scanning, click the Next button for the software to start optimizing, meshing and color mapping the collected image data. This can take quite a while to complete.


Results
This is the original object that I scanned.

And this is the result of the scan.

I find it to be pretty good. For a small object like this, the scan process is fast and able to accurately capture the color and details.
This was the second figure I scanned.

This is the result.

The results are equally good.
However, on the third scan, I used another figure with glass and a transparent background.

The result is not as good. Apparently, the camera has difficulty capturing images with glass or a transparent background.

Next up are the results from scanning a dark object.

It is able to capture most of the details. You may have noticed that the edges are washed out. This is because I didn’t place the object properly on a turntable plate.
For the best effect, it is best to keep the scanning object small and brightly colored, with no transparent background. Of course, there are also many other factors at play here, like the scanner settings, object design, lighting, hand stability, etc., but overall, the usage experience is quite good and decent. I am very sure that as the 3D scanning technology gets more mature, the result will be even better than what we have today.
Availability
For now, the CR-Scan Ferret Pro 3D Scanner is an affordable investment into 3D scanning. Through November 10, 2023, use the code FerretPro to get $50 off and pay just $379. From November 10 through November 30, the scanner will be 20% off, leaving you to pay just $343.
Our latest tutorials delivered straight to your inbox