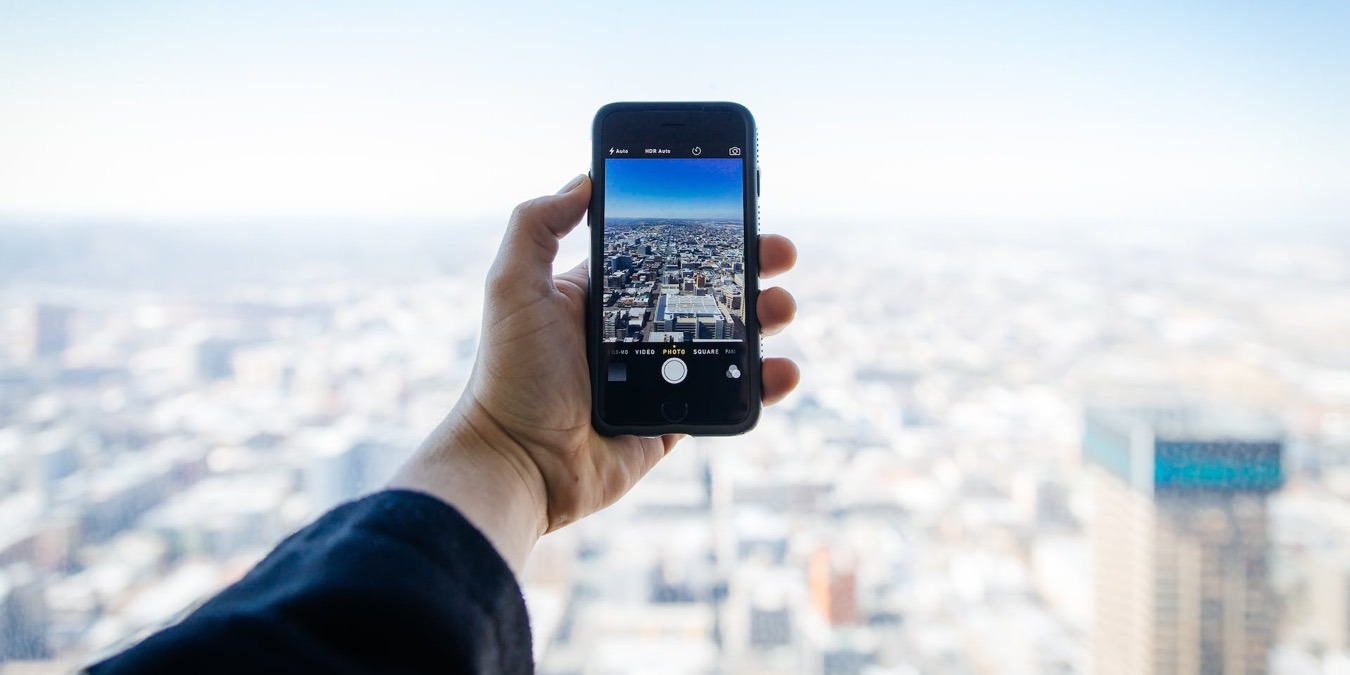
iPhones are renowned for their impressive cameras, but capturing a truly great shot takes more than just pressing the shutter button. This guide presents essential and actionable tips to help elevate your iPhone photography. From mastering lighting and composition to taking full advantage of available features and settings, these tips will help anyone looking to enhance their photographic skills.
- 1. Never Miss a Shot
- 2. Capture as Much Detail as You Can
- 3. Use Light to Your Advantage
- 4. Master Basic Composition Techniques
- 5. Keep Your Subject in Focus
- 6. Take Portraits With a Depth-of-Field Effect
- 7. Steer Clear of Distortion in Your Portraits
- 8. Capture the Action with Burst Mode
- 9. Time Your Shots Perfectly
- 10. Consider Using a Tripod
- 11. Give a Third-Party Camera App a Try
1. Never Miss a Shot
Sometimes, the best shot is the one you manage to take, particularly when it comes to snapping family moments and important milestones. Kids don’t wait for you to fumble through your phone, and that perfect sunset can fade in seconds. This is where quick access to your iPhone’s Camera app becomes essential.
Fortunately, your iPhone provides you with a few handy ways to bring up the Camera app quickly:
- Lock Screen swipe: from your iPhone’s lock screen, a swift right-to-left swipe instantly activates the Camera app.
- Back Tap accessibility feature: For iPhone 8 and newer models, the Back Tap feature is a fantastic tool to open the Camera app without even touching the screen. It’s particularly useful when your hands are full or when you’re wearing gloves. To enable it, go to the Accessibility section of the Settings app, and navigate to Touch -> Back Tap. Select Camera as your Double or Triple Tap action.

- Action Button: The iPhone 15 Pro and iPhone 15 Pro Max have introduced a game-changing feature: the Action Button. Replacing the traditional Ring/Silent switch, this button offers quick access to frequently used functions, including the Camera app. To configure it, go to Settings -> Action Button.
2. Capture as Much Detail as You Can
You should always capture photos with your iPhone at the largest supported resolution to maintain clarity and detail, even if you decide to crop your image or print in a small format.
To change your iPhone camera’s resolution, go to Settings -> Camera -> Formats -> Photo Mode, then choose the largest resolution available. Note that the resolution options are available only on iPhone 15 models and newer. On older iPhones, you can only choose between the HEIF and JPEG image file formats, with HEIF offering superior image quality at equivalent file sizes.

If you have an iPhone 12 Pro or newer, you can also turn on Apple ProRAW in Settings -> Camera -> Formats to take advantage of Apple’s RAW image file format. As this format saves significantly more image data, you can enjoy greater freedom when making adjustments, like exposure, color balance, and shadow recovery during post-processing in your favorite photo editor.
3. Use Light to Your Advantage
Light is the heart of every photograph, and understanding how to use it can transform your iPhone shots. Here are some tips to help you harness the power of light:

- Find the right light: Position your subjects so that the light falls on them gently. Direct sunlight can cause squinting and harsh shadows. Instead, opt for soft, indirect light.
- Avoid backlighting: Never have the main light source behind your subject unless you’re going for a silhouette effect. Backlighting can leave your subject underexposed.
- Embrace cloudy days: Overcast skies are your friend. They provide even, diffused light, acting like a natural softbox for flawless photos. And they can be downright magical during the golden hour, just after sunrise or before sunset.
- Use the built-in flash: Your iPhone’s flash can be a lifesaver in low-light conditions. To access flash settings, open the Camera app and swipe up, then choose between Auto, On, and Off.
- Experiment with reflectors: If you’re taking portraits, a simple reflector can help soften shadows created by harsh sunlight or your iPhone’s flash. This can be anything from a professional reflector to a piece of white cardboard.
These simple lighting techniques can significantly improve the quality and mood of your iPhone photos.
4. Master Basic Composition Techniques
Great composition is key to taking your iPhone photos from good to outstanding. Two simple yet powerful composition techniques can make a world of difference:
- Rule of thirds: divide your image into nine equal parts, with two horizontal and two vertical lines. The idea is to place the main subject or point of interest along one of these lines or at their intersections. This way, you can create more balance, harmony and interest in your photos.
- Leading lines: a compositional technique that uses lines to draw the viewer’s eye into the photograph and toward the subject or a point of interest. They can be natural or human-made, straight or curved, and can create a sense of depth, movement, or tension in an image.
Fortunately, the iPhone camera app has intuitive features that make applying these techniques simple and effective. You can go to Settings -> Camera, and enable Grid and Level from the Composition section.

Your camera view will be divided into thirds, with a handy level in the middle showing whether your image is straight.
5. Keep Your Subject in Focus
Getting your subject in sharp focus is crucial for a great photo. Your iPhone’s camera is smart, but sometimes you need to take manual control for the best results.
To make a specific area of your picture sharp, open the Camera app, and tap on the desired part of the camera view. This could be a person’s face, a flower, or any other focal point in your scene. If you would like to lock the focus and exposure settings on this point, press and hold on the screen until you see AE/AF Lock appear.

This feature is especially useful in situations where the camera can otherwise refocus or readjust the exposure, like when shooting a moving object. To unlock and return to automatic settings, tap the screen again.
6. Take Portraits With a Depth-of-Field Effect
The iPhone’s Portrait mode allows you to create stunning portraits by focusing sharply on the subject while beautifully blurring the background.
To enable Portrait mode, open your Camera app and swipe left or right, depending on the currently selected mode, until you reach Portrait mode. Wait for the light effect, like Natural Light, to turn yellow, and snap your photo.

You can change the light effect by tapping the icon and selecting from various options, like Studio Light and Contour Light. Each effect brings a unique vibe to your photo, from the subtle brightening of faces to dramatic shadows, giving you creative control over the mood of your portrait.
Took a portrait but not quite sure about the effect? No problem. Open your photo in the Photos app, tap Edit, and adjust or even remove the Portrait mode effect.
7. Steer Clear of Distortion in Your Portraits
When it comes to capturing portraits with your iPhone, choosing the right lens can make all the difference, as each lens has a specific focal length, which affects how your subject’s proportions are captured.

Using a lens with a shorter focal length, like the ultra-wide lens on your iPhone, is guaranteed to distort features, especially when you’re too close. While the resulting effect can be interesting in certain situations, the same effect isn’t ideal for portraits where you want to maintain natural, human proportions.
Instead of getting up close with a wide lens, try stepping back and using a lens with a longer focal length. On the latest iPhones, the 3x lens, equivalent to 77mm, is a great choice. It captures portraits with less distortion, giving you a more flattering and professional-looking result.
To switch between different lenses, open the Camera app, and tap on a lens selection icon (0.5x, 1x, 3x) near the shutter button.
8. Capture the Action with Burst Mode
Catching a fast-moving subject, such as kids playing or a quick-moving pet, in a photo can be tricky, but with your iPhone’s Burst mode, you’re well-equipped for the challenge.
Burst Mode works by capturing multiple photos per second. To use it, open the Camera app, and swipe the Shutter button to the left. Keep holding it down as the action unfolds, then release.

Once you’ve taken a burst of photos, review them by tapping the Burst thumbnail and pressing the Select option. Look for the gray dots beneath the thumbnails; these suggest the best shots in the burst.

Tip: While in Video mode in the Camera app, you’ll see a white circular button appear on the screen once you start recording. This button lets you take photos while the video continues to record. Use this feature as an alternative when shooting action that’s too fast even for Burst mode.
9. Time Your Shots Perfectly
Timing is a crucial element in photography and often the key difference between a good photo and an unforgettable one. Your iPhone is equipped with an excellent feature that helps you time everything just right.
Live Photos, when enabled, captures the moments 1.5 seconds before and after you press the shutter button. You’re not just capturing a static image, but a short, lively moment, giving you a mini video-like experience.

To turn Live Photos on, open the Camera app, and tap the Live Photos button in the top-right corner (icon with nested circles). Hold your device steady, and tap the shutter button. To see your Live Photos, go to the Albums tab in the Photos app, then select Live Photos in the Media Types section.
In addition to Live Photos, the iPhone’s shutter timer is an invaluable tool, especially for group photos or creative self-portraits. This feature gives you the freedom to set up your shot and be a part of it.

To activate the timer, open your Camera app, tap on the small arrow button located right below the front camera notch, then select the Timer button. Choose between a 3-second or 10-second delay. After setting the timer and pressing the Shutter button, you have ample time to join in the frame or adjust your composition.
10. Consider Using a Tripod
A tripod can provide stability and precision that’s hard to achieve by hand. This allows you to:

- Eliminate motion blur: in low light situations or during long exposures, even the slightest hand movement can cause blur. A tripod keeps your iPhone perfectly still, ensuring crisp, clear shots.
- Refine composition: with a tripod, you can take your time to fine-tune the framing and composition of your shot without worrying about keeping your hand steady.
- Take better selfies and group photos: tripods make it easy to include yourself in the photo, especially with the timer feature on your iPhone so that no one is left out of those memorable group shots.
- Master nighttime photography: capture stunning nighttime landscapes and even starry skies by using a tripod with your iPhone’s Night mode and long exposure settings.
There are many iPhone-compatible tripods to suit different needs and budgets. For a compact, budget-friendly option, check out the TONEOF collapsible tripod. If you need something small and portable, the Manfrotto Mini Tripod is a great choice. For ultimate versatility, consider the JOBY GorillaPod.
11. Give a Third-Party Camera App a Try
Third-party camera apps bring advanced controls, creative filters, and specialized features, giving you more flexibility than the standard Camera app.

For example, photographers who crave advanced manual controls can download Halide and use it to manually adjust focus, shutter speed, ISO, and white balance. The app can even display histograms, XDR 14-bit RGB waveform, and color zebra stripes, so you always know if your photo is properly exposed.
Apps like VSCO, on the other hand, stand out for their stylish filters and editing tools. Want to recreate the look of vintage 35mm films by Kodak or Fuji? No problem! There’s a preset that you can apply with a tap.
For a comprehensive list of options and more detailed information, refer to this article on the best camera apps for iPhone.
Now that we’ve equipped you with these valuable iPhone photography tips, you’re well on your way to capturing better shots, whether you’re a seasoned photographer or just starting out. But remember, there’s always more to learn and explore. For example, you can read this article for more information about iPhone camera settings. We also recommend checking out this list of the best high-capacity power banks so that you always have enough battery power to take great photos.
Image credit: Pexels. All screenshots by David Morelo.
Our latest tutorials delivered straight to your inbox